Using the Ultra Unity Plugin
Welcome to the Ultra Unity Plugin! This simple plugin is meant to allow you to leverage from Ultra's ecosystem without breaking your players flow (= seamless in-game authentication). Once you complete the following the page, your game will be able to:
- Retrieve players basic information (such as their username) with no user input required.
- Connect to UltraCloud using the brainCloud SDK, allowing you to access Ultra in-game features.
Settings
Once the package is installed, open the Ultra Settings window (a new entry should have been added): Ultra > Settings
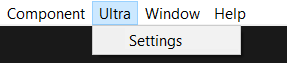
This will open the following editor:
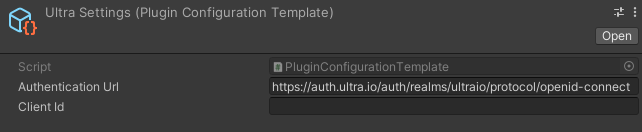
There you need to enter your Ultra Client Id. For now, you need to get in contact with the Ultra support to receive your Client Id.
The default Authentication URL is the Ultra production authentication server. If you are using a different server, make sure to edit this field.
Initialization script
TL;DR
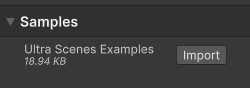
Samples are attached to the package.
There you will find a scene and a sample script showing you how to interact with Ultra.
Step by Step implementation
If you want the initialization to start on the launch of the game, you could create a gameObject in the first scene of your game and attach a new script to it.
In the Awake or Start method you can then initialze the plugin. Example:
void Awake()
{
    DontDestroyOnLoad(gameObject); // Only if you wish to use this gameObject as a place to manage Ultra lifecycle in parallel of your game execution
    Ultra.Init();
}
Note that you don't need to specify the settings. The Init() call will retrieve the configuration made graphically. If you prefer not relying on the settings from the UI, you can instead use Init(authUrl, clientId).
The Init function also takes callbacks as parameters so to track failures and successes you should instead do as follow:
Ultra.Init(OnInitSuccess, OnInitFailure);void OnInitSuccess(string username, string idToken)
{
Debug.Log($"{username} is now playing!");
}
void OnInitFailure(UltraError error)
{
Debug.LogError($"Ultra initialization failed - {error.Message}");
}Note that for the game to retrieve player information, the Ultra Desktop Client has to be running with an active session.
At development time, if you don't use the Ultra desktop application, you could use the browser to authenticate instead. For this you simply need to activate the browser configuration before intializing the tool. Example:
#if UNITY_EDITOR
    Ultra.UseBrowser = true;
#endif
    Ultra.Init();
Connecting to UltraCloud
As mentioned before, if you wish to connect your game to Ultra gaming ecosystem, you will also have to install our partner brainCloud's SDK which already supports our blockchain features and comes with plenty of additional game tools.
Connecting to UltraCloud means:
- Installing the brainCloud SDK
- Configuring it to rely on our Ultra instance
- Initialzing it programmatically
Installing brainCloud SDK
You will find the brainCloud SDK and installation steps here. At this stage you only need to install the brainCloud package. Note that to use the Ultra flavour we need here, you will have to use a specific configuration though.
UltraCloud configuration
Once the SDK is installed, open the brainCloud Settings page. 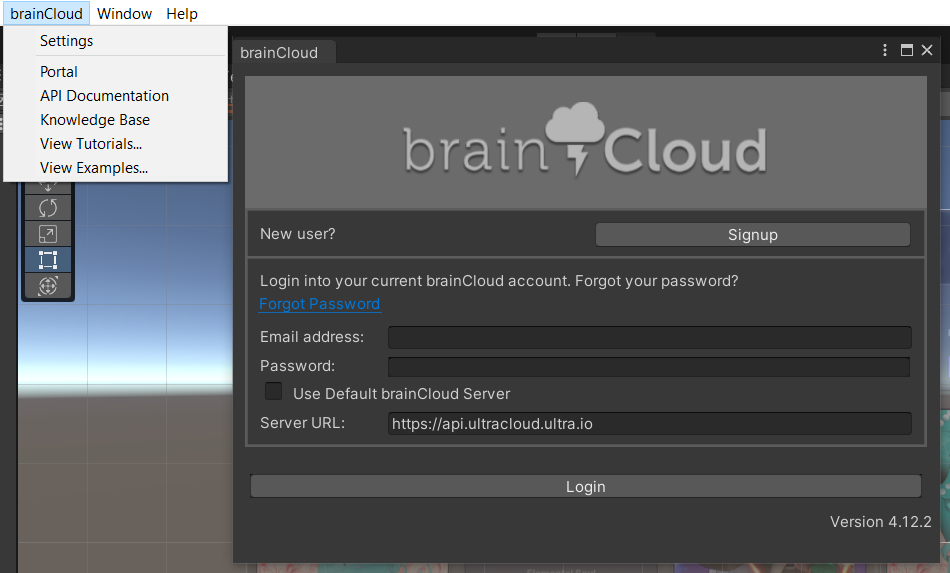
Here you need to do few changes:
- Deselect the
Use Default brainCloud Serveroption to specify the Ultra production instance in place of the defaultServer URL:https://api.ultracloud.ultra.io - The
emailhere should be from one user with access to UltraCloud Portal(accessible from the Ultra desktop Client) - The
passwordhere should be an API key generated for this given user in the UltraCloud Portal (check the following ).
Get your API key
For teams you want to access apps for (using the Unity plugin), a Team-admin must generate an API key in the Ultra Cloud Portal:
Access the UltraCloud Portal:
Enable Builder API access via the Team | Manage | Team Info page
Give any devs Builder API permission via the Team | Manage | Members page
Finally, the developer needs to create an API key for himself to use. This is a personal key linked to him.
Log into the portal in a Team where you have Builder API permission
Click in the top-right-hand corner (on the user name), go to the API Keys page - and create a key.
Click the [Get] button to retrieve the key, and that same button again to [Copy]
Finally, use that API key retrieved as the password when logging into the user’s account via the brainCloud window in Unity.
Once you are all set, login and select your relevant application information (team + application name)!
Initialize brainCloud with the Ultra session
Once the configuration is done. You need to initialize the brainCloud library programmatically.
Modify the OnUltraInitializationSuccess callback previously created with the following:
void OnUltraInitializationSuccess(string username, string idToken)
{
    Debug.Log($"{username} is now playing!");
    SuccessCallback successCallback = (response, cbObject) =>
    {
        Debug.Log("UltraCloud Authentication was successful");
    };
    FailureCallback failureCallback = (status, code, error, cbObject) =>
    {
        Debug.Log($"Failed | {status} {code} {error}");
    };
    var go = new GameObject();
    BrainCloudWrapper _ultracloud = go.AddComponent<BrainCloudWrapper>();
    _ultracloud.Init();
    _ultraCloud.AuthenticateUltra(username, idToken, true, successCallback, failureCallback);
    DontDestroyOnLoad(go);
}
Now, your users will be connecting to UltraCloud using their Ultra active sessions. Congratulations!
Check the BrainCloud documentation to see what you can do with the BrainCloudWrapper instance.