Minting your first Uniq
Let's Gooooo!
Now that you have your Token Factory up and running, you are free to mint some Uniqs. Exciting times are ahead!
Token Factory Information
As with the Token Factory, there is some specific data that you must include in the command.
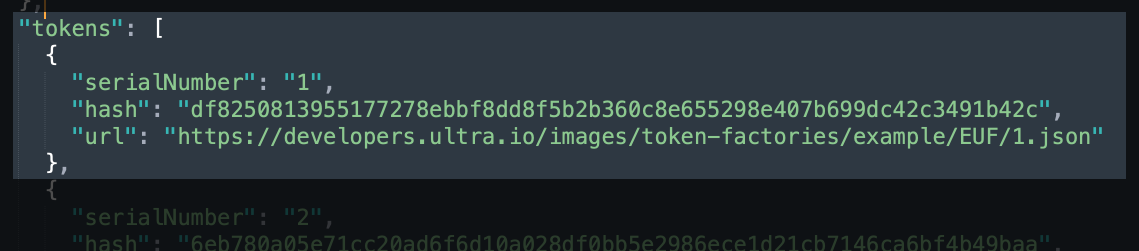
<YOUR UNIQ URL>- The URL of the metadata either as a zip file, or targeting theX.jsonfile with a full path<YOUR META HASH>- The hash of the uniq, you can find this inupload.jsonin thefactoryblock at the top
You can find these in the upload.json file and they will look something like this:
You will also need your <FACTORY ID>.
The easiest way to get this information is to:
- Go to your account on the Block Explorer
- Scroll down to the transactions and open the
createaction - On the left, you can see DB Operations
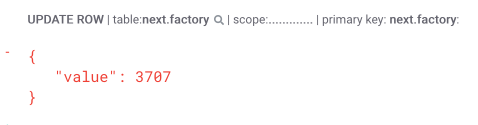
In the DB Operations section you'll see some information. Most pertinent to you is the UPDATE ROW which actually holds your Token Factory id.
Accounts
You'll also, of course, need to input <YOUR ACCOUNT> and the <TARGET ACCOUNT> which will receive the new Uniq.
The Issue Action
Once you have the required information, minting is a simple, straightforward transaction via cleos.
cleos --url http://ultratest.api.eosnation.io push action eosio.nft.ft issue.b '[
  {
    "to": "<TARGET ACCOUNT>",
    "token_configs": [
      {
        "token_factory_id": <FACTORY ID>,
        "amount": 1,
        "custom_data": ""
      }
    ],
    "memo": "Your first Uniq!",
    "authorizer": null,
    "maximum_uos_payment": null,
    "token_metadata": [
      {
        "meta_uri": "<YOUR UNIQ URI>",
        "meta_hash":"<YOUR META HASH>"
      }
    ]
  }
]' -p <YOUR ACCOUNT>
Congratulations! You've now minted your first Uniq on Ultra's Testnet!